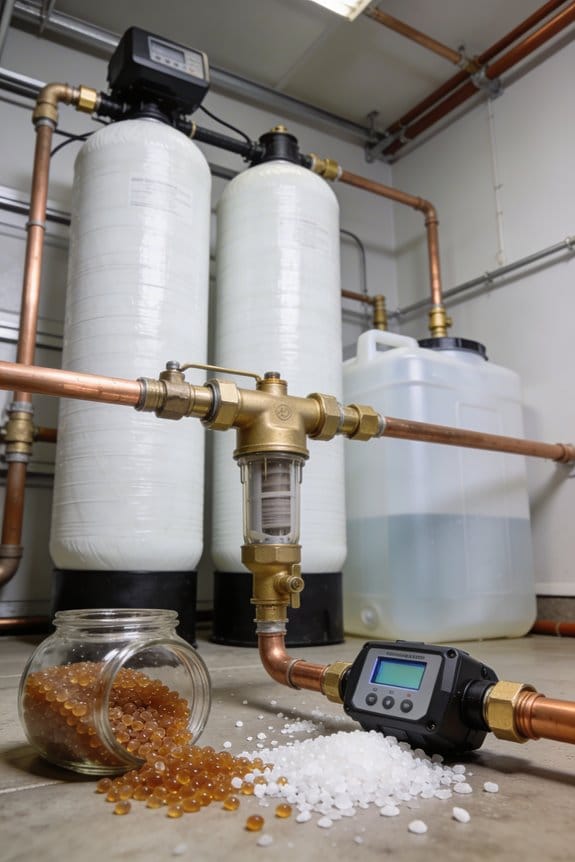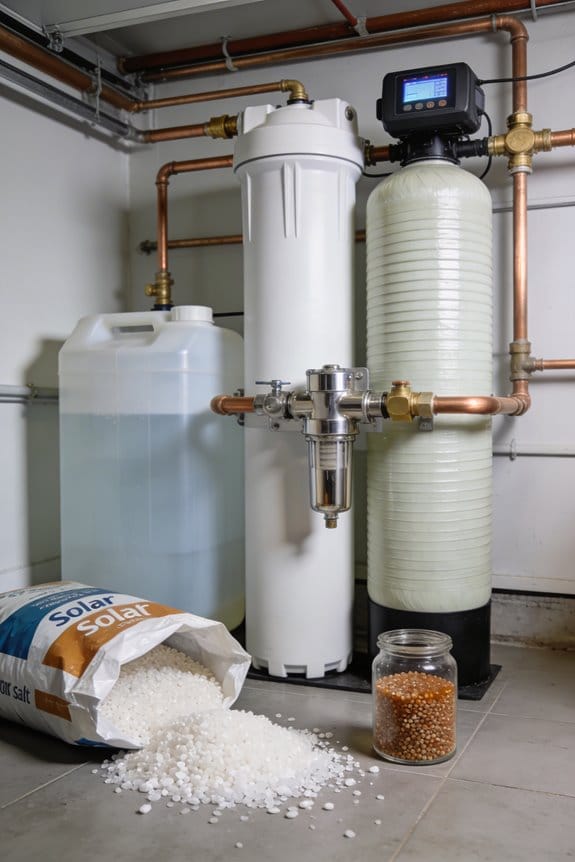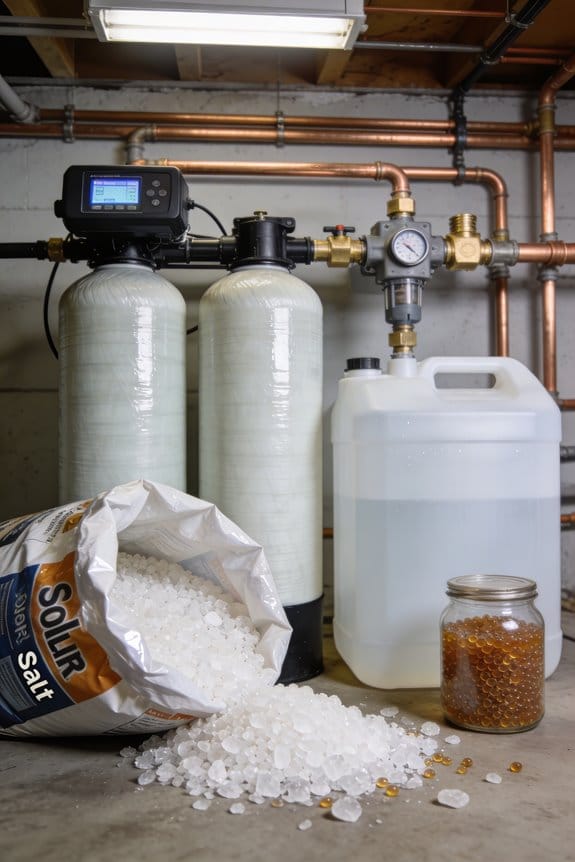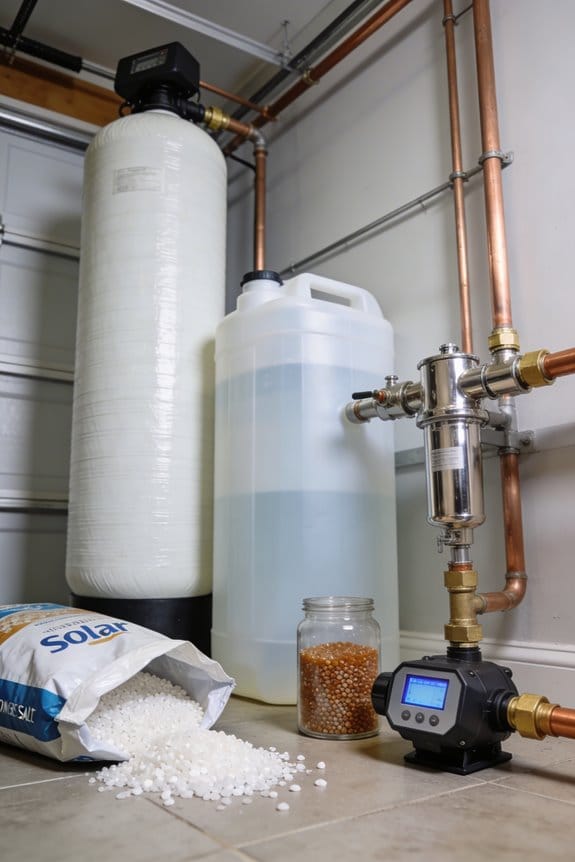
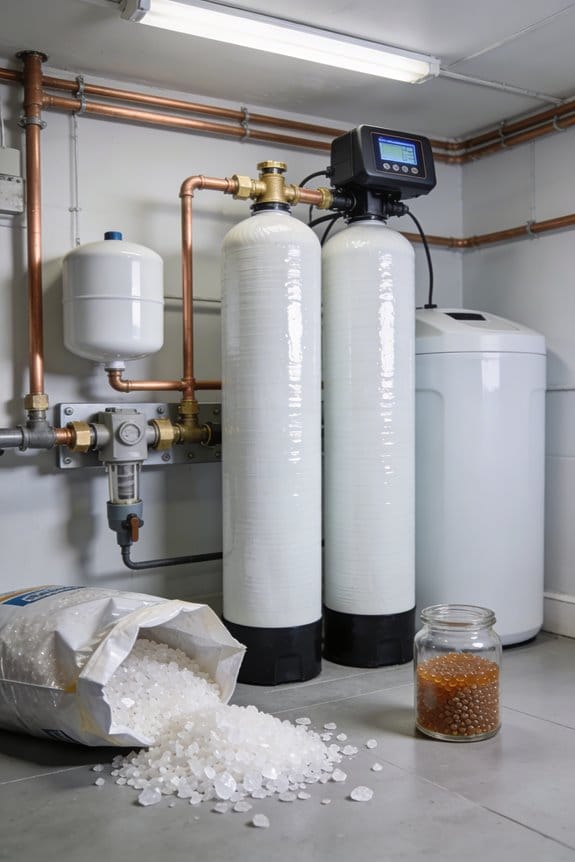

Your basement near the main water line offers the ideal installation spot because it maintains stable temperatures, provides concrete flooring for stability, and keeps your system close to plumbing and electrical connections. If your basement isn’t suitable, a temperature-controlled garage works well too. You’ll need at least 12 inches of clearance on all sides, drain access within 30 feet, and a GFCI outlet nearby. Before finalizing any location, contact your local building department to confirm permit requirements and code restrictions, since regulations vary markedly by jurisdiction and can affect where you’re legally allowed to install your softener.
Key Takeaways
- Install in the basement near the main water line and water heater for central treatment and stable temperatures.
- Ensure the location has a level concrete surface, 12 inches clearance on all sides, and accessible electrical outlet.
- Position the softener close to a drain within 30 feet to handle regeneration wastewater discharge efficiently.
- Choose locations with year-round temperatures between 35–100°F to protect the resin tank and electronic controls from damage.
- Place near entry points or doorways to minimize salt bag transport distance and support long-term maintenance compliance.
Before You Choose: Installation Requirements That Determine Viability
Before you pick the perfect spot for your water softener, you’ll need to evaluate whether your home actually meets the basic requirements for installation. I recommend checking your entry sequencing first—the system must connect after your water meter but before your water heater to treat all incoming water effectively. You’ll also need a level, concrete surface nearby, stable temperatures between 35–100°F year-round, and drain access within 30 feet for regeneration water. A 120V GFCI electrical outlet should be accessible too. Verifying these elements prevents warranty implications down the road, since improper installation locations can void your coverage. Understanding these prerequisites helps you identify viable locations throughout your home before making final decisions.
Local Codes and Permits: Verify Your Options First
Once you’ve confirmed your home has the basic infrastructure for a water softener, you’ll need to check what your local government allows before moving forward with installation. Different municipalities have specific regulations governing water treatment equipment placement, which means your ideal location might not comply with local codes.
Contact your city or county building department to understand permit requirements in your area. They’ll inform you about permit timelines, which vary markedly by jurisdiction—some approvals take weeks, while others process quickly. Many areas also have contractor requirements, meaning you might need licensed plumbers to handle the installation work. Verify these details early, since overlooking code compliance could result in costly modifications or removal of your system after installation.
The Basement: Why Most Homeowners Start Here

After you’ve checked local codes and secured necessary permits, you can narrow down where to place your water softener, and I’d recommend starting with your basement. Basements offer several practical advantages that make them ideal for most homeowners. The location provides stable temperatures year-round, protecting your equipment from freezing or overheating. You’ll find easy access to your main water line, allowing straightforward installation and connection. A basement also keeps your softener centralized near your water heater, simplifying maintenance procedures. When installing, make sure you have a concrete pad as your foundation for stability and level positioning. Good basement ventilation prevents moisture buildup around your system. Finally, basements typically offer convenient floor drain access for regeneration water discharge, eliminating complicated drainage solutions.
Recommended Products

PROTECTS PLUMBING AND APPLIANCES FROM HARD WATER SCALE WITH ZERO WATER WASTE FILTERS DIRT, SAND, SILT, CLAY, RUST, AND OTHER DEBRIS WITH REUSABLE SEDIMENT FILTER CARTRIDGE CAN BE USED FOR HOMES WITH UP-TO 5 BATHROOMS EASY INSTALLATION, LOW MAINTENANCE 120-DAY SATISFACTION GUARANTEE

Aquasana SimplySoft 60,000 Grain Water Softener Base Tank & Cabinet System is ideal for larger homes of 5+ people and 4+ bathrooms and those seeking enhanced performance. This system comes with a 5/10-Year Limited Warranty so you can be confident in your purchase. Call 866-662-6885 for customer service and installation support.

💧【 IDEAL FOR 4-6 BATHROOMS 】The Aquasure Harmony Series is engineered to handle up to 70,000 grains of hardness by removing skin damaging hard minerals like calcium and magnesium, providing professional-grade softened water to every outlet throughout your home.
Your Garage: A Practical Alternative When Space Is Limited
If your home doesn’t have a basement or crawl space, your garage can work out as an effective location for your water softener installation. Garage placement offers convenience, especially when it comes to salt storage—you’ll avoid carrying heavy bags through your house. However, you’ll need to verify temperature control, ensuring your garage stays between 35-100°F year-round to protect the equipment from freezing or overheating.
Consider the plumbing proximity to your main water line. Additional plumbing work might be necessary depending on your garage’s distance from incoming water. Weatherproofing tips are essential if your garage experiences temperature fluctuations or moisture exposure. A covered location with proper protection from the elements will keep your softener functioning reliably for years.
Recommended Products

Robust & Durable: Made from 12 Oz Cover Max 1000 Denier PVC, this Water Softener Protector offers exceptional durability, with tear and abrasion resistance for long-term outdoor & indoor protection

Size and Color: Water softener cover available in 55-inch height, 30-inch width, and 16-inch diameter precisely covers the outside water softener, offering complete coverage and weather protection. The gray color seamlessly matches your outdoor decor.

【Water Softener Systems Cover】The water softener cover set is made of sturdy 600D Oxford Silver tarpaulin and is 100% waterproof, sun, dirt, and tear-resistant, increasing the life of your instrument all the time
Utility Rooms and Crawl Spaces: When Plumbing Access Is Close
Utility rooms and crawl spaces represent excellent installation locations for water softeners when your home’s plumbing infrastructure runs conveniently nearby, and I’d recommend considering these spaces if your garage or basement isn’t suitable. These designated areas provide close proximity to existing plumbing and electrical connections, which simplifies both installation and ongoing maintenance. You’ll find that easy access to drainage and electrical outlets streamlines system operation greatly. When installing in crawl spaces, make certain proper moisture barriers protect your equipment from ground dampness and humidity. Careful pipe routing around obstacles minimizes installation complexity while maintaining water treatment efficiency. These enclosed utility spaces maintain stable temperatures year-round, protecting your softener from extreme weather conditions. The straightforward installation process in these locations makes them practical choices for homeowners seeking convenient, accessible water treatment solutions.
Recommended Products

E.Sybox is an integrated electronic water booster system for domestic and residential use
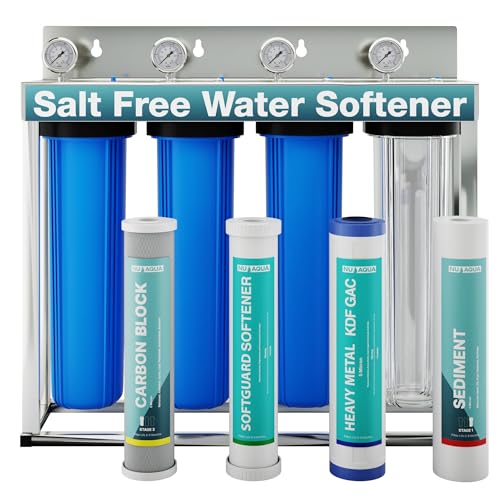
SALT FREE SOFTENING TECHNOLOGY: The NU Aqua Whole House Water Filter System utilizes advanced scale prevention media to reduce hard water buildup without using salt, protecting plumbing and appliances while preserving beneficial minerals like calcium and magnesium.

【 PERFECT FOR LARGE HOUSEHOLDS】 Ideal for 6-8 people with up to 6 bathrooms on city, municipal, and well water sources, this heavy-duty whole house water softener system delivers ultra-soft water to every tap.
Temperature and Drainage: Non-Negotiable Logistics for Any Location
Regardless of whether you’re installing your water softener in a basement, garage, utility room, or any other location, two critical factors will determine whether your system operates reliably for years to come: maintaining proper temperature and ensuring adequate drainage.
Your softener requires freeze protection, so you’ll need to keep the installation area between 35-100°F year-round. Extreme temperatures damage the resin tank and electronic controls, making climate control essential before you finalize your location choice.
Drainage is equally important. You’ll need drain routing within 30 feet of your system to handle regeneration water safely. This water carries excess salt and minerals that must flow away from your home’s foundation. Without proper drainage access, your installation won’t function properly, regardless of how perfect the location seems otherwise.
Outdoor Installations: Climate, Codes, and Weatherproofing
While basements and garages remain the most practical choices for most homeowners, you might consider an outdoor installation if your climate supports it and local codes permit it. Outdoor systems require UV resistant enclosures to protect equipment from sun damage and degradation. You’ll need to account for rainfall impact, which can affect drainage systems and potentially damage electrical components. Warm climates like Florida offer better conditions for outdoor placement, though covered locations remain essential. Before choosing an outdoor spot, verify local building codes, as many jurisdictions restrict outdoor water softener installations due to discharge concerns and property regulations. Check whether your municipality permits this option and what weatherproofing standards you must meet to guarantee compliance and equipment longevity.
Recommended Products

SECURE, LOCKABLE OUTDOOR STORAGE: This 6x4 small outdoor storage shed features padlock-ready handles and a resin latch to keep tools, cushions, and gear safe from theft, kids, and animals. Designed for peace of mind in any outdoor space.

[LARGE STORAGE CAPACITY] —External size: 51.6 in. W x 27.6 in. D x 69 in. H; interior size:49.2 in. W x 25 in. D x 67 in.H, outdoor shed capacity is 57 cu.ft,suitable for storing lawn mower,garden long tools,patio furniture and pool accessories.

SENSIBLE STORAGE: Preserves essential yard or patio space with extra-small footprint. Ability to easily fit in any outdoor space as well as store long garden tools, brooms and ladders.
Unconventional Spaces: Attics, Closets, and Storage Areas
If you’ve exhausted the typical installation locations in your home, unconventional spaces like attics, closets, and storage areas might seem like viable alternatives, though each presents unique challenges you’ll need to carefully evaluate. Attic installations require strict temperature control since attic insulation alone won’t prevent freezing during winter or overheating during summer months. Your softener needs consistent 35-100°F conditions year-round. Closet placements demand adequate closet ventilation to manage humidity and heat from the equipment. Storage areas work only if you’re willing to sacrifice permanent space. All three options require careful consideration of drain access, electrical proximity, and maintenance accessibility. Before choosing an unconventional space, verify whether the installation meets local codes and won’t compromise your home’s functionality or future storage needs.
Recommended Products
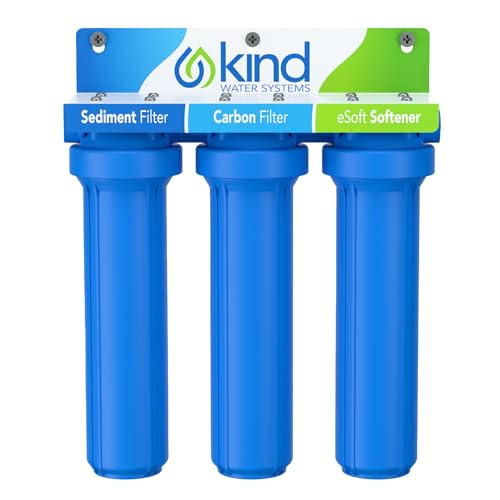
Delivers cleaner, better-tasting water throughout your entire home, improving everyday use from showering and cooking to drinking and cleaning

COMPLETE PACKAGE - Complete package that includes a whole house Water Softener, Upflow Carbon Filtration System, & Drinking Water Reverse Osmosis System. Our package also includes an installation manual and technical support. AFW Filters water bottle included with system. Water bottle has sanitizer pack, silicone lubricant, and hardness test strips for the PERFECT install!

Complete 80,000 Grains metered on demand water softener .- Upgraded Paddle Wheel Meter
Positioning Your Softener for Easy Salt Delivery
One often-overlooked factor in water softener installation is how you’ll actually get the salt to your system, and I’d argue it’s just as important as choosing the right location. You’ll need easy access to your softener because you’ll be carrying heavy salt bags regularly. I recommend positioning your system near a doorway or main pathway in your basement or garage, avoiding stairs whenever possible. This strategic placement reduces the physical burden of transporting 40-50 pound bags. If stairs are unavoidable, consider lift assistance devices or request help from friends during salt delivery. Locating your softener close to where salt’s brought ensures you’re not struggling with awkward angles or excessive distances. This practical consideration directly impacts your willingness to maintain your system properly.
Final Check: Access and Clearance for Long-Term Service
Before you finalize your water softener installation, I need to make sure you’ve considered the space around your system, because adequate clearance directly affects how well technicians can service it later. You’ll want at least 12 inches of clearance on all sides of the unit, allowing technicians comfortable access to inspect components and perform necessary maintenance. Service clearance prevents damage to your system and reduces repair costs over time. Check that the bypass valve remains easily reachable, since you’ll need to access it during servicing or emergencies. Component accessibility also means ensuring plumbing connections aren’t blocked by walls or equipment. Finally, verify that the drain line pathway stays clear and unobstructed, enabling proper water discharge during regeneration cycles and maintenance procedures.
Frequently Asked Questions
Can I Install a Water Softener Myself, or Do I Need Professional Installation?
You can undertake this rewarding home enhancement yourself, though I’d encourage you to weigh DIY precautions carefully. You’ll need permit requirements verified locally first. Professional installation guarantees proper connections and compliance.
How Much Does It Typically Cost to Install a Water Softener in Different Locations?
Installation cost varies substantially by location. Basement installations typically run $1,500-$2,500, while garage setups might cost $2,000-$3,500 due to additional plumbing. Location pricing depends on accessibility and existing infrastructure proximity.
Will a Water Softener Installation Affect My Home’s Resale Value Positively?
Yes, though it’s subtle—while a softener won’t dramatically boost resale value like a kitchen remodel, it does offer homebuyer reassurance about water quality and increased curb appeal through functional home systems.
How Often Does My Water Softener Need Maintenance and Servicing After Installation?
I’d recommend scheduling periodic inspections annually to check your system’s performance. You’ll likely need resin replacement every 10-15 years, depending on water hardness levels and usage patterns in your home.
What’s the Average Lifespan of a Water Softener System After Proper Installation?
I’ve found that you’ll typically get 10-15 years from your system, though I’d argue component longevity extends further with proper care. Your expected lifespan really depends on maintenance consistency and water quality conditions in your home.